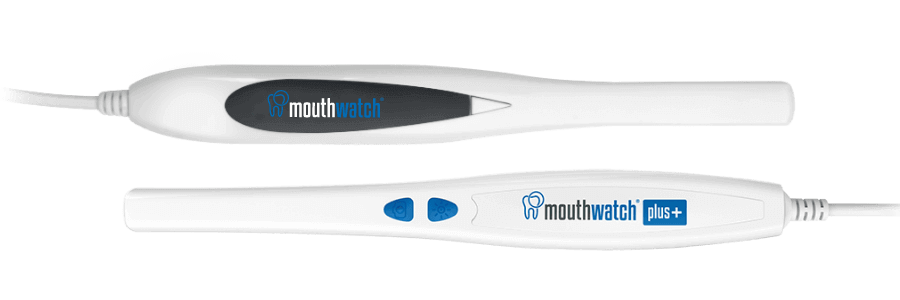
All MouthWatch intraoral cameras integrate easily with your computer and imaging software. If you are setting up a MouthWatch Plus+ intraoral camera, see a few callouts below for optimal setup.
STEP 1: Plug in your camera
> If setting up a MouthWatch Plus+ use a USB 3.0 port.
STEP 2: Install and Configure MouthWatch Button Capture Software
This step ensures that the camera capture button(s) send images to charts within your digital imaging software.
Important: MouthWatch Capture requires Windows 7 or newer versions.
- After clicking download button, choose ‘SAVE’ in windows dialog
- Then click “RUN”
- Give permission to install if requested from Windows
- In your camera box you’ll find the password needed to complete the installation process. If you can’t find the password, contact us with your order number via phone, chat or email at: mouthwatch.com/support
- Important: If setting up a MouthWatch Plus+ make sure to install the required driver by checking the box at this step:
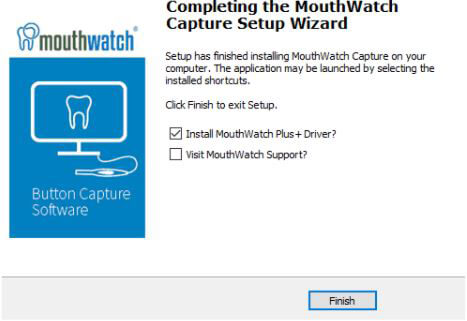
Once installed on a Windows PC, you should see a MouthWatch icon in your system tray (the section in the bottom right of your screen that typically has the clock, volume and network icons).

- Right click on the icon (it will be orange if the camera is not plugged in, or blue if you have already plugged in the camera).
- Left click on the name of your digital imaging software.
- Select your software from the list. Left click on your software.
STEP 3: Check Your Digital Imaging Software Configuration
For best performance of the camera, check that your digital imaging software is configured correctly to work with your MouthWatch camera.
Select the guide below associated with your digital imaging software. It will contain step by step instructions to configure any settings needed.
If you don’t see a guide for your imaging software, please contact our support team via chat and one of our support team members can help you configure everything.